
To secure an API with OAuth, delegate login and permissions to an authorization server, use the Authorization Code flow with PKCE whenever a person is present, issue short-lived access tokens, and validate every token on every request at the API. Skip the password grant and the implicit flow entirely. This is a working setup, not theory, and it takes a day or two for a small team.
The hard part is not the login screen. It is the four places tokens leak: URLs, browser storage, logs, and databases that nobody prunes. Everything below is arranged around closing those gaps.
I have walked through several public city-data APIs where the same three mistakes kept showing up: wildcard redirect URIs, access tokens that never expired, and refresh tokens that accumulated because old rows were never deleted. None of those are exotic. Fix them and most of the risk goes with them.
Table of Contents
- What You Need
- Step-by-Step: Secure the API with OAuth
- Step 1: Choose the Right OAuth 2.0 Flow
- Step 2: Register the Application and Configure Clients
- Step 3: Define Least-Privilege Scopes
- Step 4: Issue and Validate Access Tokens
- Step 5: Protect Refresh Tokens and Client Secrets
- Step 6: Add HTTPS, Rate Limits, and Security Headers
- Step 7: Test Normal and Failure Cases
- Step 8: Monitor, Rotate, and Revoke
- Common Mistakes
- Frequently Asked Questions
- How can I use OAuth authentication in my API?
- What is the best way to secure an API?
- How to call a REST API with an OAuth token?
- Should I use JWT validation or token introspection?
- Do I need OAuth or an API key?
- Conclusion
What You Need
Secure an API with OAuth only after six prerequisites are in place. Missing any one of them usually means rework later, once real client apps depend on your configuration.
- An OAuth 2.0 authorization server. A hosted identity provider or a self-hosted one. You write almost none of the protocol code yourself.
- An HTTPS endpoint with a valid certificate. Authorization codes and tokens travel in headers, and anything sent over plain HTTP is readable by anyone on the path.
- A defined list of API resources and scopes. Know what clients can actually do before you decide what to hand out.
- A secret store. Environment variables in development, a managed secrets vault in production, and never a repository file.
- Separate development and production clients. Different client IDs, different secrets, different redirect URIs, different signing keys.
- Structured audit logging. You need to know which client used which token at which time, without writing the token itself into a log.
Add one more thing that costs nothing: a test client you control. A small script that runs the full flow against a local authorization server saves hours of manual browser testing later.
Step-by-Step: Secure the API with OAuth
Eight steps, in order. Each one has a check that tells you it worked, so you are not staring at a 401 wondering which layer is wrong.
Step 1: Choose the Right OAuth 2.0 Flow
Use Authorization Code with PKCE when a person signs in, client credentials when no person is involved, and the device grant for TVs and IoT hardware. Never use the implicit flow or the resource owner password credentials grant.
The decision comes down to two questions: is a human at the keyboard, and how long does the client need access?
- Human present, web or mobile app: Authorization Code with PKCE (RFC 7636). The app creates a code verifier, sends its S256 challenge to the authorization server, then presents the verifier when redeeming the code. Even with a client secret, keep PKCE on.
- No human, your own backend calling your own API: Client Credentials. The client sends its own credentials and gets a scoped token scoped to itself, not to any user.
- Input-constrained device with no browser: Device Authorization grant (RFC 8628). The user approves on a phone, the device polls for the token.
- Legacy integration still on password grant: Plan a migration. OAuth 2.1 drops that grant, and major providers are removing support.
How to verify: complete the chosen flow once and confirm the token response carries the scopes you expect and no others.
Step 2: Register the Application and Configure Clients
Register each web, mobile, CLI and backend client separately and give each one exact HTTPS redirect URIs. A wildcard redirect URI turns your callback into an open door, because an attacker can point it at a page they control and receive the authorization code.
Give each client the smallest set of credentials it needs. A server-side web app is a confidential client and keeps a secret. A single-page app and a native mobile app are public clients: they cannot hold a secret, so they rely on PKCE. Public clients registered as confidential create a false sense of security, because the secret ships inside the app bundle anyway and anyone can extract it.
Keep development and production registrations apart entirely, with different client IDs and different redirect URIs. Mixing them means one misconfigured local setup can point at production users.
How to verify: try an unregistered redirect URI and confirm the authorization server rejects it rather than silently redirecting.
Step 3: Define Least-Privilege Scopes
Define one narrow scope per capability, not per role. Scope names read better when they describe the action and the resource: permits:read and alerts:write beat a single admin.
Ask for the fewest scopes the client genuinely needs, and show the user a plain-language consent screen listing them. If a consent screen says “This app will be able to read and modify air-quality readings for any station”, the user is deciding with real information.
Then check scopes at both ends. The authorization server refuses to issue a token requesting scopes you have not registered, and your API rejects a request missing the scope an endpoint requires. Skipping the second check is the most common cause of 403 responses that developers report as “OAuth is broken” when the token is actually fine but under-permissioned.
How to verify: call an endpoint with a valid token that lacks its required scope, and check the response is a 403 with a clear error code rather than a 401 or an empty body.
Step 4: Issue and Validate Access Tokens
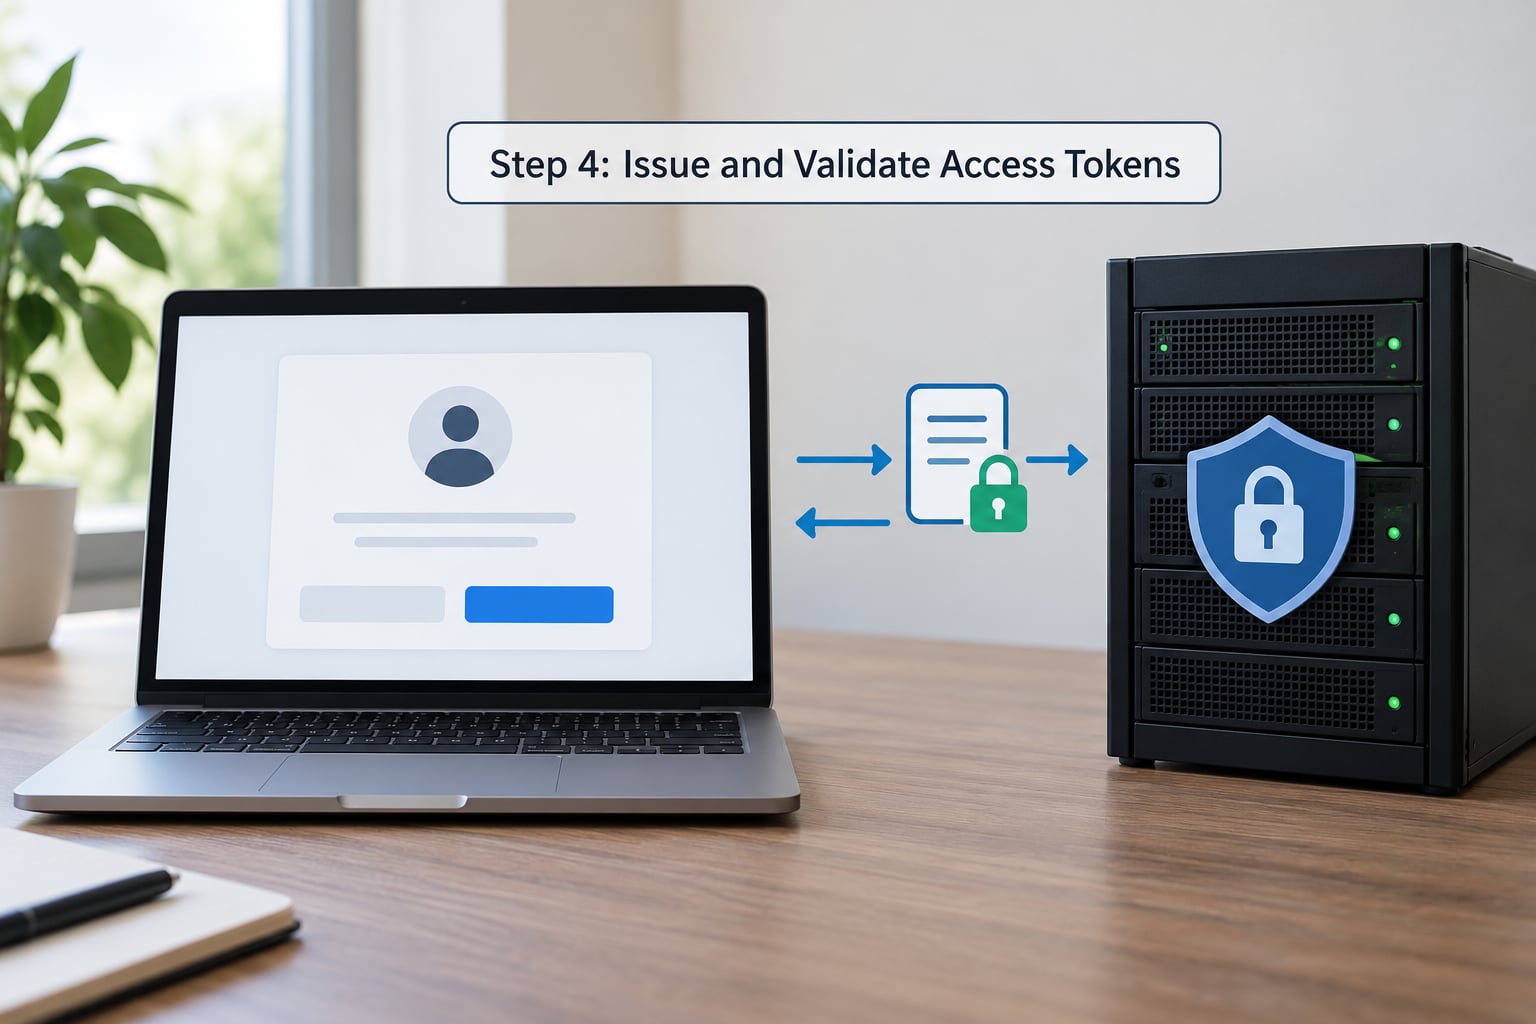
Validate every access token at the API, checking signature, issuer, audience, expiry and scope. A valid token from a different environment or a different API is still a token your endpoint must reject, so issuer and audience checks are not optional.
Signed JWTs are validated locally against the authorization server’s JWKS endpoint, which is fast and keeps your API alive during an identity provider outage. Opaque tokens require a round trip to the introspection endpoint (RFC 7662), which gives you immediate revocation at the cost of latency and a hard dependency on the provider.
Keep access tokens short-lived. Five to sixty minutes is the normal range, with the client refreshing before expiry. Long-lived access tokens are the reason a single leak stays dangerous for weeks.
A minimal Node middleware looks like this:
import jwt from 'jsonwebtoken';
import jwksClient from 'jwks-rsa';

const client = jwksClient({
  jwksUri: process.env.OAUTH_JWKS_URI,
  cache: true,
  rateLimit: true
});

export async function requireToken(req, res, next) {
  const header = req.headers.authorization || '';
  if (!header.startsWith('Bearer ')) {
    return res.status(401).json({ error: 'missing_token' });
  }
  try {
    const decoded = jwt.decode(header.slice(7));
    const key = await client.getSigningKey(decoded.kid);
    const claims = jwt.verify(header.slice(7), key.getPublicKey(), {
      algorithms: ['RS256'],
      issuer: process.env.OAUTH_ISSUER,
      audience: process.env.OAUTH_AUDIENCE
    });
    req.auth = claims;
    next();
  } catch (err) {
    res.status(401).json({ error: 'invalid_token' });
  }
}
How to verify: send a request with a valid token, then repeat it with a token signed by a different key, one with a past expiry, and one with the wrong audience. All three should return 401, and the valid one should return 200.
Step 5: Protect Refresh Tokens and Client Secrets
Rotate refresh tokens on every use and revoke the entire token family when an old token is presented a second time. That reuse detection is what turns a stolen refresh token from an indefinite problem into a short, alertable event.
Refresh token rotation causes more reported production bugs than any other part of OAuth. The common ones: two tabs refreshing at the same time so the second refresh looks like a replay, refresh tokens accumulating because old records are never deleted, and configuration that ties access-token validity to refresh-token rotation, so a rotated token logs users out unexpectedly.
Handle concurrency with a small grace window or a single-flight lock per session, and delete each consumed refresh token as you issue its replacement.
Store secrets where the browser and the app bundle cannot reach them. Never in localStorage, never in a URL query parameter, never in a mobile bundle, never in a repository. For single-page apps, the backend-for-frontend pattern works best: a small server component holds the tokens and the browser only ever receives an HttpOnly, Secure, SameSite cookie it cannot read.
How to verify: grep your logs, your repository history and your analytics tooling for the string of a test token. Any hit is a leak.
Step 6: Add HTTPS, Rate Limits, and Security Headers
Require TLS for authorization and API traffic, add HSTS, allow only exact redirect URIs over HTTPS, and set rate limits and request size limits on top of valid tokens. A valid token tells you who is calling, not how fast.
Limit requests per client and per token rather than per IP alone, since one office can sit behind a single address while one abusive client rotates addresses. Add defensive headers on responses that touch authorization: a strict Content Security Policy and X-Frame-Options on consent pages reduce the damage of a clickjacking or injected-script attempt.
Configure CORS for browser clients with an explicit origin list. A wildcard origin on an endpoint that accepts credentials is the browser-side equivalent of a wildcard redirect URI.
How to verify: request the API over plain HTTP and confirm the connection is refused or redirected, then confirm a request from an unlisted origin is blocked by CORS.
Step 7: Test Normal and Failure Cases
Test the failures, because that is where the security lives. A suite that only exercises the happy path will pass while an attacker walks through your callback unchallenged.
- Replay an authorization code a second time and expect rejection.
- Alter the redirect URI on the callback and expect rejection.
- Send an expired token, a token with a broken signature, and a token with an unknown key ID.
- Call a write endpoint with a read-only scope.
- Present a rotated refresh token twice and confirm the family is revoked.
- Fire two refreshes in parallel and confirm neither logs the user out.
- Make the authorization server unreachable and confirm your API fails closed.
For local work, run an authorization server locally or point at a sandbox tenant, then use Postman to hold a real token and mock the validation middleware for the rest of the suite. Keeping one genuine token as a test fixture and stubbing everything else is the pattern most teams land on.
Step 8: Monitor, Rotate, and Revoke
Log the security-relevant events without logging the secrets: client ID, token ID, user ID, scopes granted, decision and timestamp. Those five fields answer who accessed what and when, without writing anything an attacker could replay.
Alert on a refresh token family being revoked, on a client requesting new scopes, and on a sudden jump in token issuance for one client. Review client registrations on a schedule and remove ones nobody uses.
Rotate signing keys on a published schedule with an overlap window, so tokens signed by the retiring key stay valid until they expire. When a credential leaks, revoke first and investigate after: revocation is cheap and reversible, a data exposure is not.
How to verify: pull a month of access logs and confirm you can answer a specific question about one client’s activity without reading a single token value.
Common Mistakes
The most damaging errors are all recoverable on the same day they are found. Here they are with the fix.
- Wildcard redirect URIs. Fix: list exact HTTPS URIs per environment and reject anything unmatched at the authorization server.
- Tokens in URLs or browser localStorage. Fix: Authorization header for API calls, HttpOnly cookies plus a backend-for-frontend for browsers.
- Treating OAuth as authentication. Fix: add OpenID Connect if you need to know who signed in. OAuth on its own delegates access, it does not log anyone in.
- Access tokens that live for weeks. Fix: minutes, not months, with refresh handled by the client.
- Client secrets shipped inside mobile apps. Fix: register native clients as public and require PKCE, per RFC 8252.
- Skipping issuer and audience checks. Fix: verify all three signature, issuer and audience, plus expiry and scope, on every request.
- HTTPS treated as the whole security story. Fix: TLS protects the pipe. Token lifetime, storage, rotation and revocation protect the credential.
- Valid token treated as sufficient authorization. Fix: check scope per endpoint and return 403 with a named error when it is missing.
- Rotated refresh tokens never deleted. Fix: delete on use and add reuse detection with family revocation.
- Rolling your own server. Fix: run a maintained authorization server. Forum consensus is unanimous on this, and it is right. Write your own token validation only.
Frequently Asked Questions
How can I use OAuth authentication in my API?
Register your API as a client at an authorization server, define the scopes each endpoint needs, then have the client send users through the Authorization Code flow with PKCE. The server returns an access token the client sends in an Authorization Bearer header. Your API validates that token on every request for signature, issuer, audience, expiry and scope. Add OpenID Connect if you also need to know who signed in.
What is the best way to secure an API?
For anything with multiple clients or user-delegated access, OAuth 2.0 with short-lived tokens and least-privilege scopes is the strongest practical option. It gives per-client revocation, an audit trail and no shared passwords. Keep TLS, rate limiting and monitoring layered on top, and add mTLS or DPoP for high-value machine-to-machine traffic.
How to call a REST API with an OAuth token?
Send the token in the Authorization header on every request, in the form Authorization: Bearer YOUR_ACCESS_TOKEN. Do not put it in the query string, since URLs land in logs and referrer headers. Check for 401 and 403 separately: 401 means the token is missing, expired or invalid, 403 means it is valid but lacks the scope that endpoint requires.
Should I use JWT validation or token introspection?
Validate signed JWTs locally against the JWKS endpoint when you want low latency and resilience during a provider outage. Use introspection when you need instant revocation or the provider issues opaque tokens, accepting the extra round trip per request. Many teams run signed access tokens with a short lifetime, which makes revocation less urgent and validation far cheaper.
Do I need OAuth or an API key?
An API key is fine for one internal client you fully control and can rotate. Choose OAuth once third parties need access, once access must be limited per user, or once you need to revoke without rotating a shared secret. Many APIs accept both during a migration: keys for legacy clients, OAuth for new ones, with a published end date for the key path.
Conclusion
Start with one thing: register a client at a maintained authorization server, run the Authorization Code flow with PKCE, and validate the returned access token on every request at your API. Everything else, rotation, revocation, rate limits and monitoring, is a layer on top of that working pair.
Next, write the three negative tests: replayed authorization code, altered redirect URI, and expired token. If those three fail correctly, you have already closed most of the holes that show up in review.